Add Users to the Portal
Add new users to your portal and manage their access through CAL (Client Access License). You can add users individually or in bulk by entering multiple email addresses.
Prerequisites
- Available to users assigned to the User Manager group or with User Management permissions enabled.
Add a Single User
- Select the hamburger menu (☰), then go to Admin > Users & Groups.
- Select Add Users, then select Using Email Addresses.
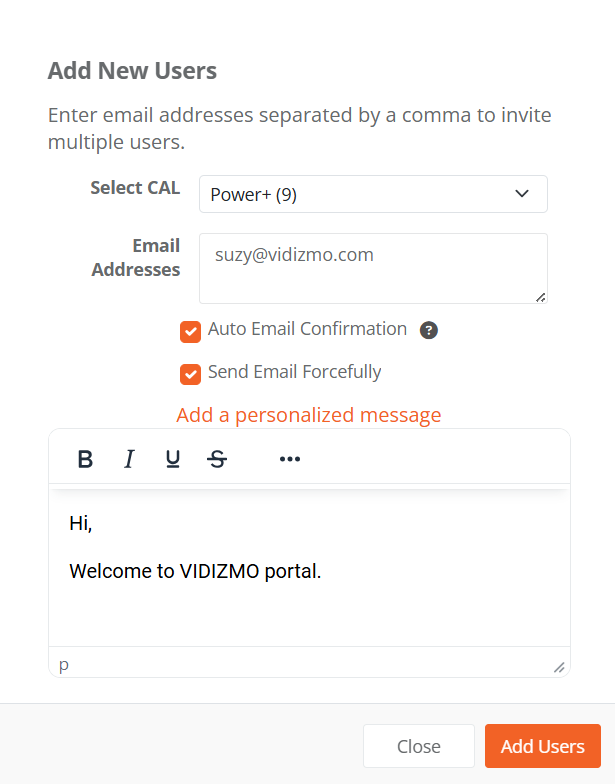
- In the Add New Users dialog, select a CAL from the dropdown.
- Enter the user's Email Address.
- Optionally, configure the following settings:
- Auto Email Confirmation: Select to grant users direct portal access without email confirmation. If not selected, users receive a confirmation email and must verify before accessing the portal.
- Send Email Forcefully: Select to ensure a notification email is sent.
- Add a personalized message: Select to include a custom welcome message.
- Select Add Users.
NOTE: The "All Users" group is a default group that automatically includes every user added to the portal. To add a user to a specific group, navigate to that group first, then use the Add option.
Add Multiple Users
To add multiple users at once, follow the same steps as adding a single user, but enter multiple email addresses separated by commas in the Email Address field.